 Low Online Discount Prices
 Next Day Delivery On Certain Items
 Safe and Secure Online Checkout
 Big Name Brand Discounts
We have all suffered the frustration of a dripping tap at some point or another. More often than not, many of us ignore it because we simply don’t know how to fix a dripping tap, and neither do we think it warrants calling in a professional…
However, not fixing a leaky tap can run up an expensive water bill and waste water. Fortunately, we’re on hand to teach you how to fix a dripping tap, with a detailed guide on how to repair a leaking tap that is fit for all tap types.
What causes a dripping tap?
Broadly speaking, there are three main causes of a leaking and dripping tap:
1) The washer needs replacing : Traditional taps often leak because the washer needs replacing, also known as the O-ring or the rubber seal. This can be done easily at home.
2) The ceramic cartridge needs replacing : For a monobloc tap, it is likely that the ceramic cartridge (also known as the ceramic disc) requires replacing due to damage or deterioration.
3) High water pressure: Alternatively, your tap could be dripping due to high water pressure, as this can affect the pipes’ water flow and prevents effective flow. This means that water eventually gets trapped and drips out of the tap. You can test your water pressure at home, but often this problem is best handled by a plumber.

Bathroom Taps | Showers to You
How to fix a dripping tap?
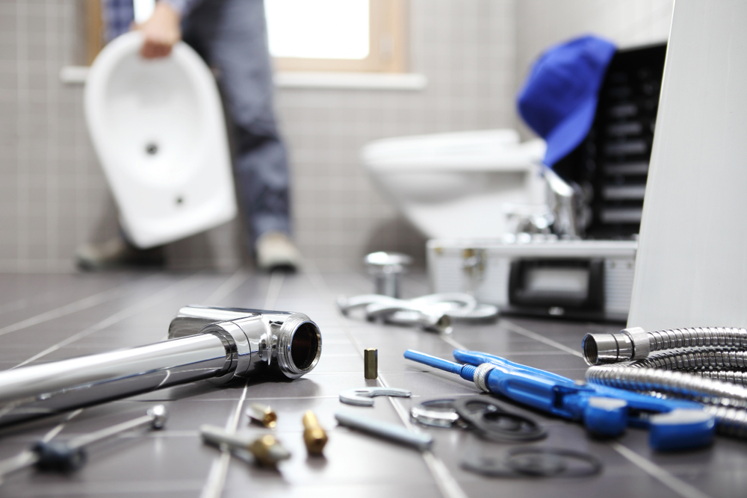
Photo credit: visivastudio / Shutterstock
1) Get your tools ready
To fix a leaking tap, you will need:
- An adjustable spanner
- Scissors (optional)
- A small Allen key
- A slot or cross-head screwdriver
- Replacement washers, replacement cartridges and O-rings
Preparing these beforehand means your repair will be far less stressful and far more efficient.
2) Turn off the water
Before beginning the repair, it is important to turn off the water supply to your taps. This is done by turning off the water at the stopcock or isolation valve, both of which can be found beneath the sink top. Many sinks have two of these valves, and you should turn both valves clockwise until they can no longer be turned, even if only one tap head is dripping. If you cannot find valves beneath the sink, we recommend shutting off the main water supply instead.
Once you have done this, run the taps to release any excess pressure and water in the taps. Following this, we recommend putting the plug in the sink before you get down to unscrewing and replacing parts, since this will prevent anything you drop in the sink from becoming quickly lost down the drain!
3) Figure out what washer / cartridge you require
Before you begin fixing your dripping tap, it is important to first understand what tap washer or cartridge you need. Tap washers are used to help control water flow and prevent leaking or contamination when a tap is turned off, but there are different kinds of taps and cartridges. This can quickly and easily be determined if you still own the manufacturer instructions and receipts, but this often isn’t the case for most homeowners…
Fortunately, another way to figure this out is by seeing how far they have to turn to give full power. For example, if the tap only rotates a quarter or half way clockwise, then it is most likely a ceramic tap. If you can turn the tap further clockwise, it is most likely going to be a traditional tap.
If you have a traditional style of tap, you should follow the steps on how to replace a washer or O-ring. On the other hand, if you have a ceramic or monobloc lever tap, then you will need to follow the steps on replacing a ceramic disc valve instead.
4) Attempt to identify where your tap is leaking from
To make the process that bit easier, we recommend trying to identify where the tap is dripping from to pre-determine what needs changing and mending. There are two common areas where your tap could be leaking from:
Dripping from the spout: If the leak is occurring from the spout of the tap, then you will most likely need to replace the washer.
Dripping beneath the handle: If the leak is occurring from below the handle of the tap, then it is most likely that the o-ring or valve needs to be replaced.
How to take your tap apart:
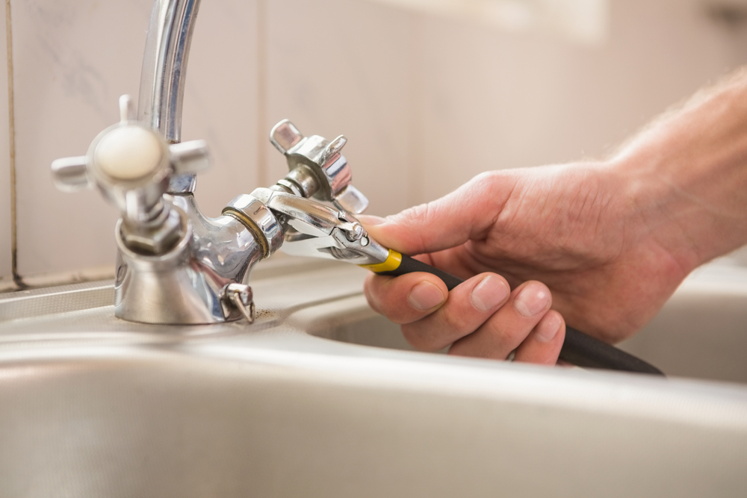
Photo credit: wavebreakmedia / Shutterstock
1. Find The Screw
To get down to fixing a dripping tap, you need to look for the screw that holds the tap together – loosen this and remove the tap. Most frequently, this screw is contained under the hot and cold caps on the tap’s surface, which can be easily popped off using a slotted screwdriver – but be gentle you don’t damage your tap in the process!
In monobloc taps, which only have a single controlling lever, the screw can be found under the hot and cold indicator instead.
2. Take your tap apart
Once you have gained access to the screw, loosen to deconstruct the tap, carefully laying out the various components somewhere safe so that they can be reconstructed when you’re ready. You will also need to take off the head of the tap and the protective metal cover around the tap neck – this will help to give you the access required to repair the tap.
The next stages depend on the issue at hand and the type of tap that you have, so follow the guide for your tap and repair!
How to fix / replace a ceramic disc valve in a tap:
- Since you have already unscrewed the cap, the top of the valve should be exposed.
- Next, you should grip the valve using your adjustable spanner and twist until loose and removed completely – either by hand or spanner.
- Where the old valve used to be, place your new replacement cartridge and twist until tight. Make sure you’re not too heavy-handed, since this could lead to lasting damage and risk damaging your tap even further.
- Finally, put together your remaining tap components in the same order that you deconstructed them to begin with. Once you have secured the valve and reconstructed the tap, turn the water flow back on and test it out!
How to fix / replace an O-ring or rubber washer:
- Following the steps described previously, you should be able to see the top of the O-ring.
- Next, you need to extract the old O-ring, prising it either with your hands or a flathead screwdriver, or just by cutting it using scissors.
- Having checked that your replacement O-ring is the right size, you should roll the rubber washer / O-ring onto the tap spout valve, depending on the problem area. Be sure that it is properly lined up and fastened.
- Finally, put all other components back together in the order you followed previously. Once this has been done, switch the water supply back on and test how successful your repair has been!

Photo credit: P A / Shutterstock
If you still can’t fix your dripping tap…
In the unfortunate event that you have pulled out all of the stops yet still have a dripping tap, it might be a good idea to invest in a new bathroom tap altogether to avoid more expensive bills and wasting water.
We offer a wide range of taps to fit your bathroom space. For more information on which bathroom tap you should choose, be sure to read our blog post.
Feature image credit: photopixel / Shutterstock