 Low Online Discount Prices
 Fast Delivery
 Safe and Secure Online Checkout
When it comes to purchasing a brand-new bathroom, it is vital to get the size correct, otherwise you may end up spending double the amount fixing your costly mistakes. In this guide, we explain how to measure a shower tray for your bathroom. It’s not an easy measurement to make, so it may be worth getting someone to help you, to ensure you are doing it accurately.
What you will need before you begin measuring your shower tray:
– Tape measure
– Pen and paper
– A cardboard cut-out
How to measure a shower tray – Our top 5 tips
1. Inspect your existing shower tray
If you are simply replacing your old shower tray, measuring your new shower tray should be very straightforward. All you must do is take dimensions of your old shower tray and find a new shower tray with the exact same measurements. If you are replacing like-for-like and installing a brand-new shower, it should be a simple matter of measuring your old shower tray.
All you have to do in this instance is get your trusty tape measure out and make a note of the length and width of your current tray.
However, if it is a quadrant shower tray that you are replacing, you will also need to find out the radius of the shower. To work this out, you must:
- Measure one side of the shower (this will give you the length)
- Measure from one side up to the point the line of the enclosure begins to arc
How to measure the radius of a quadrant shower tray? Use the table below to help you:
| Measurement 1 | Measurement 2 | Radius |
| 800mm | 300mm | 500mm |
| 900mm | 400mm | 500mm |
| 1000mm | 500mm | 500mm |
| 1200mm | 700mm | 500mm |
| Measurement 1 | Measurement 2 | Radius |
| 800mm | 250mm | 550mm |
| 900mm | 350mm | 550mm |
| 1000mm | 450mm | 550mm |
| 1200mm | 650mm | 550mm |
(Please note, this doesn’t work if it’s an offset quadrant shower tray)
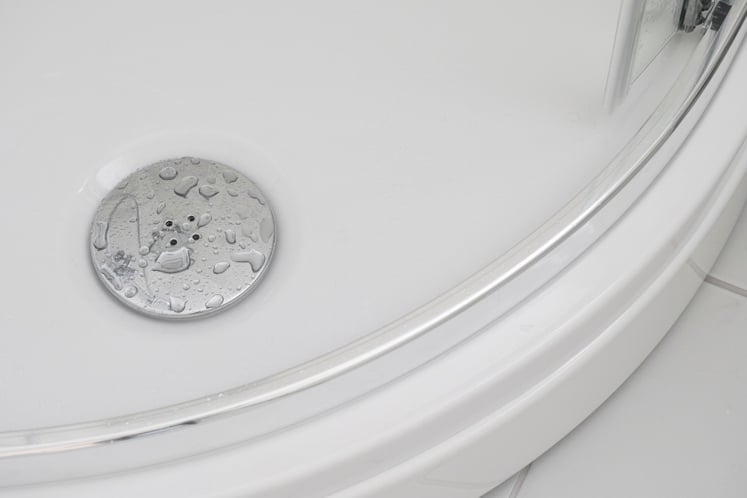
Photo credit: StepanPopov / Shutterstock
2. Draw it out
To ensure you are accurately measuring the space for your shower, it is a good idea to draw it out using a piece of cardboard. Using your trusty tape measure, mark out the shape of your shower and place it into position in your bathroom, to give you a rough idea of what the shower tray will look like among your space.
This trick is handy if you are opting for a completely different shower tray and shower enclosure type. Even more so if you are planning on installing an awkward shaped shower tray, such as a “P” shape.
3. Make use of tools
If you are good with computers, you may want to use a 3D planning tool to map out your bathroom. If you want to do this, look around for the best programme that suits your needs and budget. We suggest using SketchUp, which is a great programme and free to use.
Using a 3D planning tool is particularly useful if you are giving your bathroom a complete overhaul and you would like to see what your space will look like with different appliances and re-jigging the space. It can often be difficult to imagine your space with the naked eye.
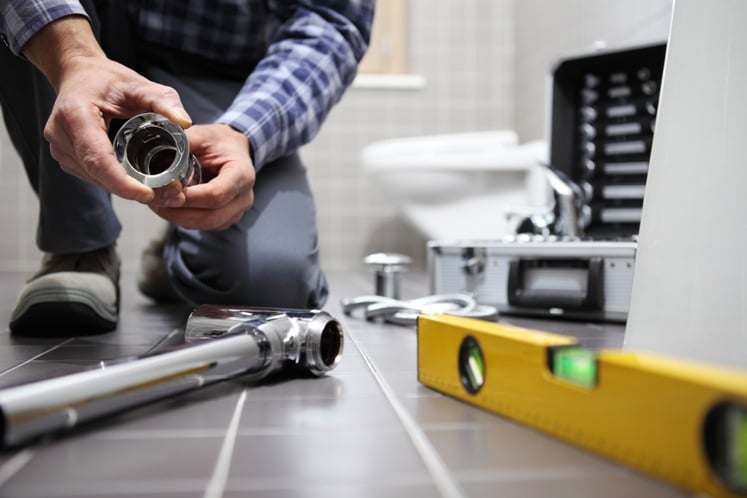
Photo credit: visivastudio / Shutterstock
4. Don’t forget to mark your waste pipe
One mistake many people make is forgetting to bear in mind where the waste pipe will be situated. If you are simply replacing the same shower tray, this doesn’t necessarily apply to you, however if you are changing your shower tray type and size, this is something you must consider.
The last thing you want after spending money and installing your shower tray is to have to rip it up and start again because you’ve forgotten to include the basics.
5. Bear in mind height
Whilst there are a wide variety of shower tray sizes to choose from, shower trays also come in varying heights to suit different spaces. The majority of shower trays feature a low-level design for ease when walking in and out of the shower, however if you wish to purchase a higher-level shower tray, all you have to do is purchase a tray rise kit.
Shower tray riser kits include adjustable supporting legs and a clip-on cover to conceal the legs.
Feature image credit: ImageTeam / Shutterstock