 Low Online Discount Prices
 Fast Delivery
 Safe and Secure Online Checkout
A wobbly, cracked, or outdated toilet seat can spoil the look of your bathroom. At the same time, it might seem like a job for a professional, but replacing a toilet seat is a straightforward DIY task that you can complete in under an hour with just a few basic tools. Whether your current seat is damaged or you simply want to update your bathroom’s style, this guide will walk you through the process step by step.
This guide from Showers to You provides clear instructions on how to measure for, remove, and fit a replacement toilet seat, ensuring a perfect and stable fit every time. With a little preparation and our expert tips, you’ll have your new seat installed and ready to use in no time.
Preparation and Safety
Before starting any DIY project, it’s essential to prepare your workspace and gather the right tools. For this job, you will typically need:
- A tape measure
- A flat-head screwdriver
- Pliers or an adjustable spanner
- Protective gloves
- Cleaning spray and a cloth
Safety and hygiene are important. Before you begin, put on your protective gloves and give the toilet a thorough clean, paying close attention to the area around the seat fittings. Keeping small children and pets away from the work area is also a good idea. Once the old seat is removed, it’s a perfect opportunity to deep-clean the hard-to-reach areas of the toilet pan. For detailed advice, check our guide on how to clean a toilet the right way.
Measuring for the Correct Replacement Toilet Seat
A common mistake is assuming that all toilet seats are a standard size. Toilets come in various shapes and sizes, and manufacturers often design specific seats for their pans. For example, the Scudo Deia Rimless Wall Hung Pan is only compatible with the Scudo Middleton Slim Heavy Soft Closing Toilet Seat or the Scudo Wrap Over D-Shaped Soft Closing Toilet Seat. Taking accurate measurements is crucial to finding the right replacement toilet seat.
The most common toilet shapes are round, D-shape, and square. To ensure you purchase the correct seat, you need to take three key measurements from your toilet bowl:
- Distance Between Fixing Holes: Measure the distance between the centres of the two holes at the back of the toilet pan where the seat is fixed. This is usually a standard 155mm, but it’s always best to check.
- Width of the Bowl: Measure the width of the toilet bowl at its widest point.
- Length of the Bowl: Measure from the centre point between the fixing holes to the very front edge of the toilet bowl.
Double-check these measurements before purchasing to avoid any compatibility issues. If your toilet has an unusual shape, you may need to look for a universal or adjustable toilet seat to accommodate it.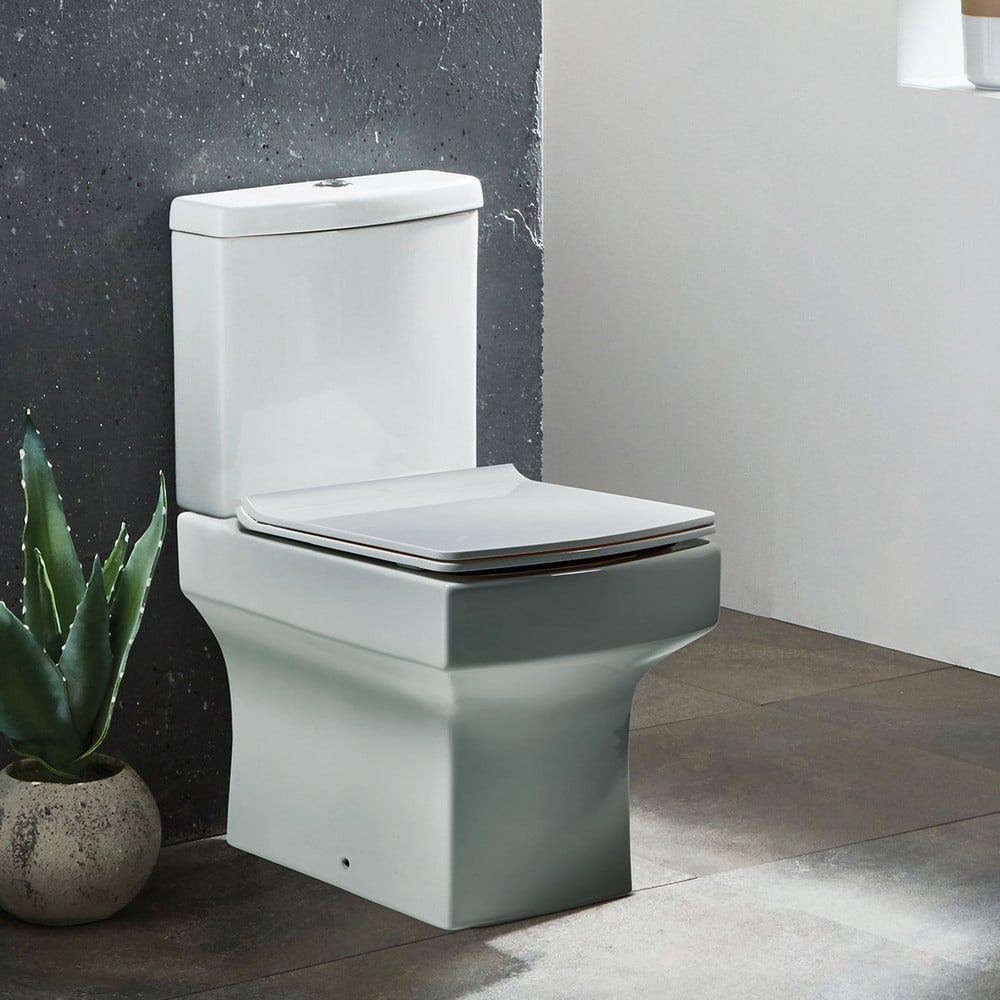
Removing the Old Toilet Seat
Most toilet seats are secured to the pan with two long bolts that pass through the fixing holes. These bolts are often hidden under plastic caps on the hinges.
To remove the old seat, start by using a flat-head screwdriver to pry off the plastic caps covering the hinge fittings gently. This will expose the head of the bolts. Underneath the toilet bowl rim, you will find nuts (often wingnuts) screwed onto the end of these bolts.
Hold the nut in place with pliers or a spanner and use the screwdriver to turn the bolt from above, unscrewing it. Once the nuts are removed, you should be able to lift the old toilet seat straight off. The classic design of the Burlington Soft Close Toilet Seat in Golden Oak uses this type of standard fitting, making it a reliable and stylish choice that customers love. As one review states, it offers “Great quality, Great prices,” and another notes the “Easy ordering process, good communication and quick delivery!“
If the bolts are corroded and stuck, apply a penetrating lubricant, such as WD-40, and let it sit for about ten minutes to help loosen them. If they still won’t budge, you may need to carefully use a hacksaw to cut through the bolts, taking care not to damage the ceramic of the toilet pan.
Fitting the New Toilet Seat
Your new seat will come with all the necessary fittings and instructions. Begin by assembling the new fittings as shown in the manufacturer’s guide.
Push the new bolts through the fixing holes on the toilet pan. Place the new seat onto the toilet, aligning the hinges with the bolts. From underneath, thread the nuts onto the bolts and tighten them by hand. Do not fully tighten them at this stage, as you will need to make final adjustments.
Adjusting and Finalising the Installation
With the seat loosely attached, you can now adjust its position. Slide the seat forward, backwards, or side to side until it is perfectly aligned with the rim of the toilet bowl. Ensure it sits centrally and doesn’t overhang on one side.
Once you are happy with the alignment, it’s time to secure it. Use your pliers or spanner to hold the nuts while you fully tighten the bolts with your screwdriver. Be careful not to over-tighten, as this could damage the fittings or the toilet pan itself. Tighten each side gradually, checking the alignment as you go to ensure it remains in place.
After tightening, test the stability of the seat by gently trying to move it from side to side. It should feel solid and secure. If you’ve installed a soft-close toilet seat, check that the mechanism works correctly by gently pushing the seat and lid down. Finally, push the new plastic caps over the fittings to conceal them.
Frequently Asked Questions
Can I install a toilet seat myself?
Yes, installing a replacement toilet seat is a straightforward DIY task that most homeowners can handle on their own. With basic tools and our guide, you can complete the job quickly. Products like the Scudo Luxury Wrap Over Heavyweight Toilet Seat are designed for easy fitting. One 5-star review says, it’s a “strong stable seat, and easy fixing,” while another notes it’s a “Good Quality product easy to fit.”
Do all toilet seats fit any toilet?
No, toilet seats are not universal. Toilets come in various shapes, including round, D-shaped, and square, and require a seat of the corresponding shape and size. It is crucial to measure your toilet pan before buying a replacement.
Do all toilet seats have the same fixing holes?
While the distance between fixing holes is often a standard 155mm, this can vary. Always measure the distance between the centres of the holes on your toilet to be certain. Many modern replacement seats offer some adjustability in their fittings to accommodate minor variations in seating positions.
How do you tighten a loose toilet seat?
To tighten a loose toilet seat, first pop off the plastic hinge covers to access the bolts. Use pliers to hold the nut underneath the toilet rim while you tighten the bolt from above with a screwdriver. Tighten both sides until the seat is secure and no longer wobbles.
How do you fix a wobbly toilet seat?
Loose fittings usually cause a wobbly toilet seat. Follow the steps to tighten a loose seat and resolve the issue. If tightening the bolts doesn’t work, the fittings may be worn or broken and need to be replaced. You can purchase a new seat hardware kit or a complete replacement toilet seat.
Finishing the Job
Replacing a toilet seat is an easy and satisfying DIY project that can instantly refresh the look of your bathroom. By following these simple steps, you can ensure a professional and secure installation. Once you’re finished, all that’s left is to dispose of your old seat responsibly. Check your local council’s guidelines for recycling or disposal.
Ready to find the perfect replacement? Browse our extensive collection of high-quality toilet seats today.
Shop Replacement Toilet Seats Now
Contact us today via email at info@showerstoyou.co.uk, by phone at 01472 242159, or through our online contact form for expert advice on selecting and replacing a toilet seat.