 Low Online Discount Prices
 Fast Delivery
 Safe and Secure Online Checkout
Changing a kitchen tap might seem daunting, but it’s often a straightforward DIY project that can save you money and give your kitchen a fresh look. Whether you’re dealing with a persistent leak, upgrading to a kitchen mixer tap, or simply replacing an outdated fixture, this comprehensive guide will walk you through the entire process.
Most individuals can complete this task in under two hours with the right tools and preparation. From gathering your materials to troubleshooting common issues, Showers to You will cover everything you need to know about how to replace a kitchen mixer tap safely and effectively.
Tools and Materials You’ll Need
Before starting your tap replacement project, gather all necessary tools and materials. Having everything ready will make the process smoother and prevent unnecessary trips to the hardware store mid-project.
Essential Tools
- Adjustable wrench (two different sizes recommended)
- Pliers
- Screwdrivers (both flathead and Phillips)
- Basin wrench or tap spanner
- Torch or headlamp for visibility
- Hacksaw (if pipes need cutting)
- Pipe cutter (optional but helpful)
Required Materials
- New kitchen tap
- Plumber’s putty or silicone sealant
- PTFE tape (thread seal tape)
- Old towels or rags
- A bucket or bowl for water collection
- New flexible tap connectors (if needed)
- Penetrating oil (for stubborn fittings)
Safety First: Turn Off the Water Supply
The most critical step before beginning any plumbing work is turning off the water supply. This prevents flooding and allows you to work safely.
Locate your main water stopcock, typically found under the kitchen sink or where the water main enters your property. Turn the valve clockwise to shut off the water supply. If you cannot find an isolation valve specifically for the kitchen tap, you may need to turn off the mains water supply to your entire property.
After shutting off the water, turn on the existing tap to drain any remaining water from the pipes. This step is crucial for how to fix a leaking kitchen tap issue and prevents water from spilling during removal.
Step-by-Step Instructions for Replacing Your Kitchen Tap
Step 1: Remove the Old Tap
Start by disconnecting the tap from underneath the sink. You’ll typically find two flexible hoses or copper pipes connected to the tap body. Use your adjustable wrench to carefully loosen these connections carefully, keeping a bowl handy to catch any remaining water.
Next, locate the tap’s mounting nuts beneath the sink. These large nuts secure the tap to the sink surface. Use a basin wrench or tap spanner to loosen these nuts by turning them anticlockwise. Once loose, you can lift the old tap out from above the sink.
Step 2: Clean the Mounting Area
With the old tap removed, thoroughly clean the mounting area on your sink. Remove any old putty, sealant, or debris from around the tap holes. This ensures a proper seal for your new tap and prevents future leaks.
Step 3: Prepare the New Tap
Before installation, check that your new tap comes with all necessary components, including mounting hardware and seals. Read the manufacturer’s instructions carefully, as different taps may have specific requirements.
Apply a thin layer of plumber’s putty or silicone sealant around the base of the new tap. This creates a watertight seal between the tap and sink surface.
Step 4: Install the New Tap
Carefully lower the new tap into position, ensuring it sits properly in the mounting holes. From underneath the sink, slide the mounting plate (if provided) over the tap tails, then secure with the mounting nuts.
Tighten the nuts firmly but avoid overtightening, which can crack the sink or damage the tap. The tap should be secure without excessive force.
Step 5: Connect the Water Supply
Connect the flexible tap connectors to the hot and cold water supplies. Ensure you connect hot to hot and cold to cold—typically, hot is on the left and cold on the right when facing the tap.
Wrap PTFE tape around the threaded connections before tightening to prevent leaks. Hand-tighten the connections first, then use your wrench to pull them further—usually one to two turns past hand-tight is sufficient.
Step 6: Test Your Installation
Turn the water supply back on gradually and check for leaks around all connections. Turn on the new tap and allow water to flow for several minutes, checking both hot and cold supplies.
If you notice any leaks, turn off the water supply and tighten the relevant connections. Small weeps often stop once the system pressurises, but persistent leaks require attention.
Some kitchen taps are incredibly simple to install, such as the Bristan Easy Fit Kitchen Taps. A great example is the Bristan Design Utility Lever Easy Fit Monobloc Sink Mixer, which combines quality with ease of installation. This is reflected in Stephen S’s 5-star review, where he described it as “good quality and easy to install.” For added support, a detailed installation video on How to fit a Bristan EasyFit Kitchen Mixer Tap is available on the Showers to You YouTube channel.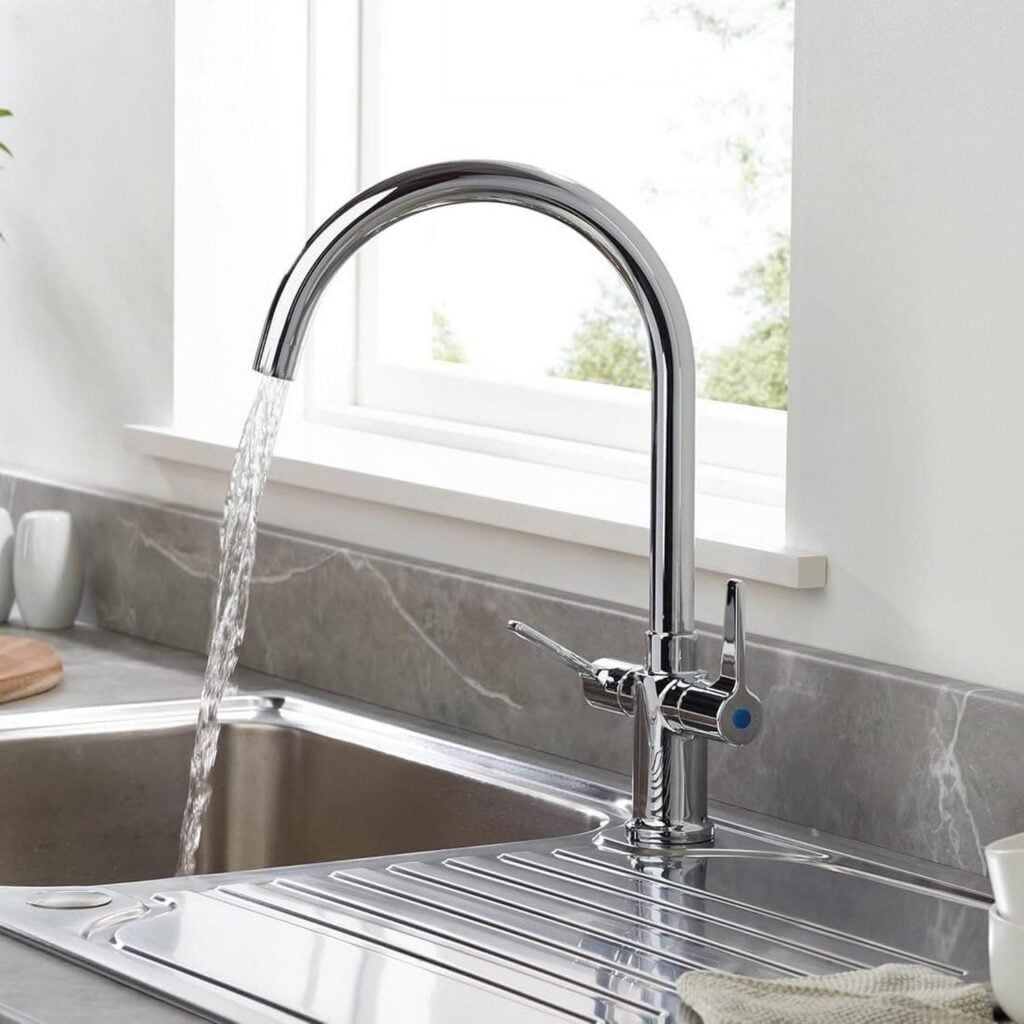
Troubleshooting Common Issues
Leaking Connections
If you discover leaks at pipe connections, turn off the water supply and check that all connections are properly tightened. Ensure you’ve used PTFE tape on threaded connections and that washers are correctly positioned.
Low Water Pressure
New taps sometimes have debris in the aerator or filter screens. Remove and clean these components if the water pressure seems reduced after installation.
Difficulty Removing Old Fixings
Older taps may have corroded or seized fixings. Apply penetrating oil and allow it to work for several minutes before attempting removal. A hacksaw can cut through particularly stubborn nuts if necessary.
Can You Replace a Kitchen Tap Yourself?
Yes, most homeowners can successfully replace a kitchen tap themselves. The job requires basic tools and moderate DIY skills but doesn’t involve complex plumbing modifications. Kitchen tap replacement is generally more straightforward than bathroom installations because of better access and standard fittings. For more information, read through our Kitchen Taps: Buyer’s Guide.
However, consider your comfort level with plumbing work and the complexity of your particular installation. If your kitchen has unusual plumbing configurations or you’re uncomfortable working with water connections, professional installation might be a better choice.
Do I Need a Plumber to Change My Kitchen Tap?
While you don’t necessarily need a plumber to change your kitchen tap, certain situations warrant professional help:
- Your property has old or non-standard plumbing
- You need to modify the pipework or add new connections
- You’re uncomfortable working with water supplies
- Local building regulations require professional installation
- You discover additional issues during the removal process
Professional installation also ensures warranty coverage and provides peace of mind, particularly for expensive taps or complex installations.
Complete Your Kitchen Upgrade Today
Changing a kitchen tap is a rewarding DIY project that can transform your kitchen’s appearance and functionality. By following these detailed steps and taking proper safety precautions, you can successfully install a new tap and address how to fix a leaking kitchen tap.
Remember to work methodically, don’t rush the process, and don’t hesitate to seek professional help if you encounter unexpected complications. With the right preparation and tools, you’ll have your new tap installed and working perfectly.
Ready to find the perfect tap for your kitchen upgrade? Shop kitchen tap collection today and discover high-quality options that combine style, durability, and excellent value. Get in touch today via email (info@showerstoyou.co.uk), phone (01472 242159), or online contact form.