 Low Online Discount Prices
 Fast Delivery
 Safe and Secure Online Checkout
If you are looking for instructions on how to install a bath waste, you have come to the right place. A bath waste is the plumbing component that allows water to drain effectively from your bathtub and prevents it from overflowing. Proper installation is crucial to ensure a watertight seal and prevent leaks that could damage your flooring. While this guide from Showers to You will help you understand the process, please note that fitting a waste is often a fiddly job. We recommend undertaking this task only if you are confident in your DIY skills, or with the assistance of a professional plumber.
Tools and Materials
Before starting the installation, ensure you have the correct equipment. Having everything to hand will make the process smoother. You will need:
- Plumber’s gold or putty
- New bath waste and pipe fittings
- Wonder wipes (for cleaning excess sealant)
- Screwdriver/s
- Tube cutters
- Channel-lock pliers
- Drain wrench
Types of Bath Wastes
Before learning how to install a bath waste, you must select the right style for your bathroom. The type of waste you choose will depend on the specific requirements of your tub and your desired aesthetic. For a more detailed breakdown, refer to our guide, “What Bath Waste Do I Need?“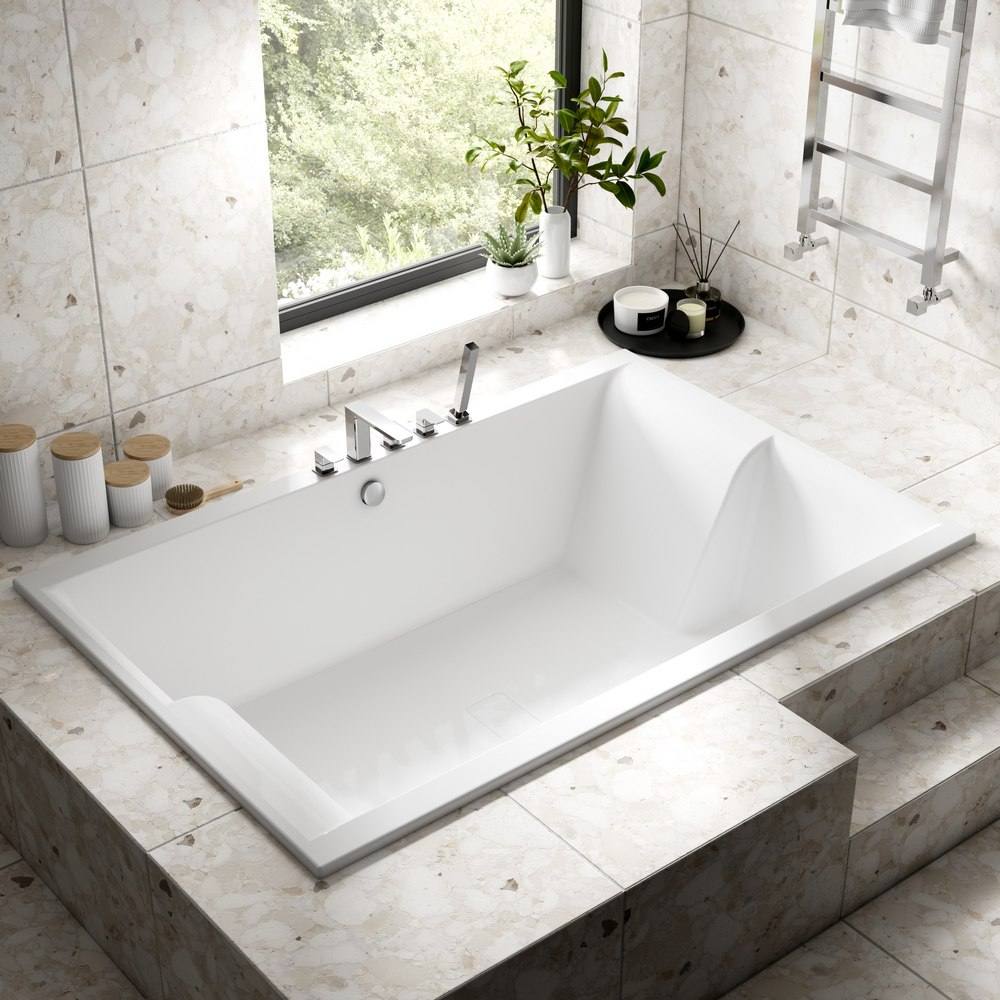
Plug and Chain
This is the most traditional option, often found in period-style bathrooms. It features a plug attached to a chain, which connects to the overflow. It is a reliable choice that adds a classic touch.
For a high-quality example, consider the Bristan Chrome Traditional Bath Waste with Porcelain Plug. One of our customers, Gary E, left a 5-star review stating: “I live in a Victorian property, when I had my bath replaced, the plumber chose the waste and also replaced the sink waste. The sink was a click system which always stuck downwards. So, when the bath started to leak from the overflow, which is where the switch was that dropped the plug, I decided to replace it with these from Bristan. Excellent quality as usual from Bristan, and the ceramic plugs are very attractive.”
Pop Up Waste
Inspired by French and Italian designs, pop-up waste bins are operated by a dial located at the overflow. Turning the dial opens and closes the plug, so you don’t have to put your hands in hot water to drain the bath.
Click Clack (Sprung Waste)
Also known as a push-button waste, this modern design is operated by pressing the stopper down to close it and pressing it again to open it. It offers a clean, streamlined look ideal for contemporary bathrooms.
A popular choice is the Bristan Clicker Bath Waste with Overflow in Black. Jay C recently reviewed this product, noting: “Decent. Looks good, matches my black shower and taps”.
Integrated Bath Fillers
These combine the waste, overflow, and bath filler into a single unit. They eliminate the need for separate taps, resulting in a minimalist finish.
How to Install a Bath Waste: Step-by-Step
Once you have your tools and your chosen product, you can begin the installation. Follow these steps carefully to learn how to install a bath waste correctly.
Step 1: Gain access to your existing tub
The first step in understanding how to install a bath waste involves accessing the plumbing. If you are installing a waste on a new, uninstalled bath, this is straightforward. However, if you are replacing an old waste on a fitted bath, you will need to remove the bath panel. For freestanding baths, access is usually easier; however, be cautious not to damage the surrounding area.
Step 2: Pick a style of bath waste and purchase the components
As mentioned earlier, selecting the right waste is vital. Ensure you have purchased all necessary components, including the drain fitting, overflow tube, and any required washers or gaskets. Verify that the new waste matches the specifications of your bath, specifically whether you need a slotted or unslotted version. Slotted wastes are for baths with overflows, while unslotted are for those without.
Step 3: Remove the current drain fitting from underneath the tub
Locate the existing drain fitting beneath the bath. You will likely need your channel-lock pliers or a drain wrench for this part. Loosen the nut connecting the waste trap to the drain pipe. Be prepared for a small amount of residual water to escape when you disconnect these pipes.
Step 4: Unscrew the cover plate that sits on the inside of the top of your tub
Move to the inside of the bath. Locate the overflow cover plate (often a round metal disc) near the top rim. Using a screwdriver, remove the screw holding the plate in place. Once unscrewed, the plate should come away easily.
Step 5: Detach the old waste and overflow components
With the fittings loosened, you can now remove the old unit. From behind the bath, pull the overflow tube and waste pipe away from the tub. If the parts are old, they might be stiff or corroded, so use a little force if necessary, but be gentle with the bath itself to avoid cracking the acrylic or enamel.
Step 6: Prepare your bath for its new waste and overflow components
Before installing the new unit, thoroughly clean the surrounding areas, including the drain and overflow holes. Remove any old putty, sealant, or debris using your Wonder wipes (refer to our guide on How to Remove Bathroom Sealant for more information). A clean surface is essential for creating a watertight seal. This preparation is a key part of how to install a bath waste successfully, as it prevents future leaks.
Step 7: Line up the overflow tube with the overflow opening on your bath with assistance
This step is where a second pair of hands is incredibly useful. Apply a bead of plumber’s putty or a similar sealant to the washers provided with your new kit. Have your assistant hold the overflow unit in place against the back of the bath hole while you screw in the new cover plate from the inside.
Repeat this process for the drain hole at the bottom of the bath. Ensure the rubber washers are seated correctly to prevent leaks. Tighten everything securely, but be careful not to overtighten and crack the plastic components. Connect the new trap to your waste pipe. Once fitted, test the installation by running a small amount of water to check for drips.
How to Install a Bath Waste: Summary
Knowing how to install a bath waste can save you time and ensure your bathroom renovation runs smoothly. Proper installation prevents overflows and maintains a hygienic, watertight seal in your bathroom. Whether you prefer the traditional charm of a plug and chain or the modern convenience of a click-clack system, fitting it correctly is paramount.
If you are looking for high-quality components, browse the extensive range of bath wastes available at Showers to You. We stock leading brands and designs to suit every bathroom style. For more information on bath wastes, contact us today via email at info@showerstoyou.co.uk, by phone at 01472 242159, or through our online contact form.