 Low Online Discount Prices
 Fast Delivery
 Safe and Secure Online Checkout
Shower enclosures are a stylish way of giving you plenty of space to shower comfortably. You’ll be pleased to know that installing a shower enclosure is a straightforward job, which can be completed within a day.
There are many different styles of shower enclosures, coming in several different shapes and sizes. Although, most commonly they are placed in the corner of a bathroom, so for the purpose of this guide we will discuss a quadrant shower enclosure. However, the process of fitting any style of shower is pretty much the same, so all of the information in this post can be applied to any shower enclosure installation.

Shower Enclosures and Doors | Showers to You
Please note: This guide does not explain how to install a shower tray. This should be assembled beforehand.
A Step by Step Guide to Installing a Shower Enclosure
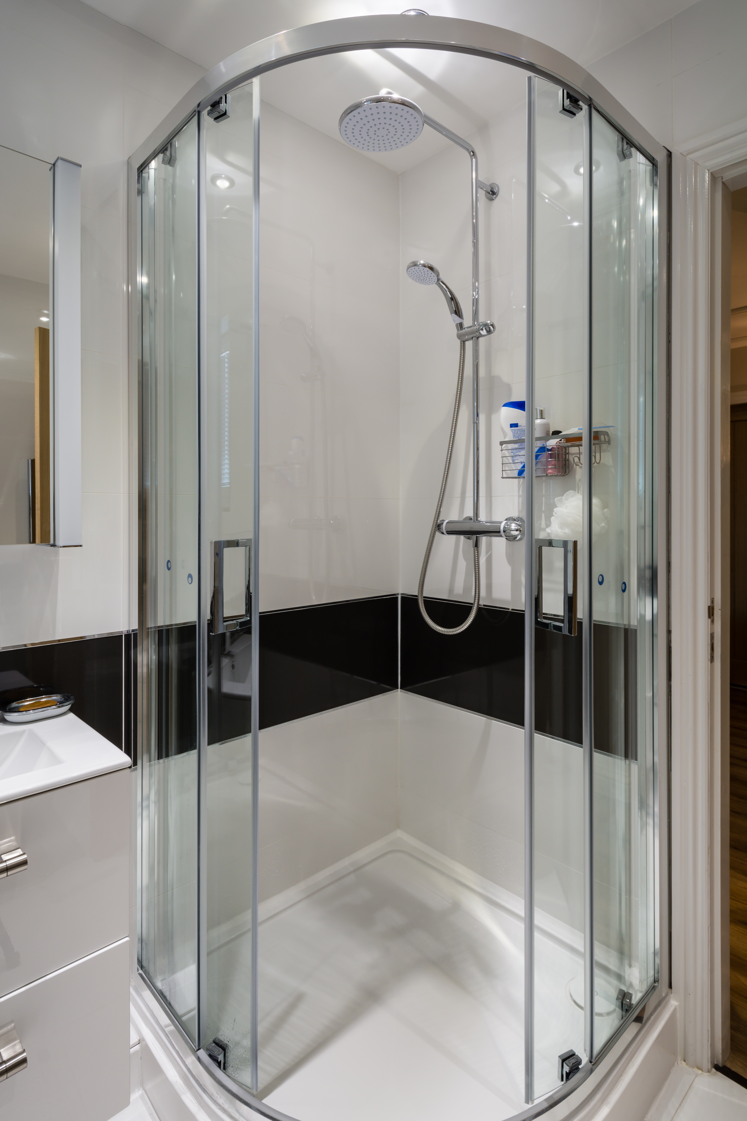
PhotoCredit: Shutterstock/ Dave Head
Open your Shower Enclosure Kit
- Before you start to assemble your shower enclosure, check you have all the necessary parts.
- Every shower enclosure should come with a manufacturer’s guide, listing all the parts and instructions.
Install Shower Enclosure Brackets
- Firstly, the vertical brackets need to be installed.
- Vertical brackets hold the shower enclosure in place over the tray. They are fixed to the wall using screws, with the enclosure frame being screwed to each bracket.
- Drill a hole into the wall, before pushing a wall plug through.
- Note: This method can change depending on the surface your attaching it to.
Fitting Shower Enclosure Frame
- Now, assemble the shower enclosure frame, before placing it onto the brackets.
- To do this, attach the glass panel onto the base quadrant frame, using the fixing screws.
- Then fix the second upright glass panel to the quadrant frame.
- Finally, fix sealing strips onto the top of each glass panel.
Place the Shower Enclosure into the Correct Position
- Once the shower enclosure frame is assembled, you can now position it onto the shower tray.
- Carefully transfer the shower enclosure onto the shower tray, by sliding the panels onto the vertical brackets.
- Ensure there is no gap between the shower enclosure frame and the tray.
Assemble the Sliding Shower Doors and Shower Door Rollers
- Next, unpack the shower door roller.
- Each roller should be placed over the fixing hole.
- Fix the fixed rollers at the top of the door.
- Fix the movable spring-loaded rollers onto the sliding door.
- Once in position, place the cover over the back of the hole, and fix the screw through.
- Note: Make sure to use a hand operated screwdriver and not a drill.
Place the Door onto the Frame
- Place the first sliding door onto the shower enclosure frame.
- Pushing them down onto the rollers to snap them into place.
- Repeat this for the second door.
- Ensure the gap between the sliding doors is even all the way down.
Screw the Handles onto the Doors
- Position the handles onto the outside of the door.
- Then secure a screw through each fixing bracket and into the handle.
Assemble the Shower Enclosure Doors Seals
- Door seals are necessary to prevent any water from exiting the shower area.
- Usually, 6 strips are given.
- These should be applied to the fixed glass shower enclosure panels and to the sliding shower door. To fit them, simply push them on.
Fixed Shower Frame to Brackets
- Once the shower enclosure frame is fitted in the correct position, it can now be secured onto the brackets.
- To do this, drill 2-3mm holes from each of the upright brackets (this should be approx. 3-6 holes running from top to bottom).
- Next, pop the correct screw through the provided screw cup and cover.
- Then screw it up and pop a cap cover over it.
Apply Covers
- To prevent water rusting the door brackets, apply a cover over them.
- To do this, simply push the covers over the top of each bracket.
Apply Sealant to the Shower Enclosure
- A silicone sealant should be applied using a sealant gun.
- Sealant should be placed along the outside of the shower enclosure and along the base of the shower.
- Once all the areas are filled, leave to dry for at least 24 hours.
Voila! Your new shower enclosure is now complete.
Here at Showerstoyou.co.uk, we guarantee that you will be able to find the perfect shower enclosure for your bathroom suite. We offer a wide range of high-quality products from leading manufacturers such as Aquadart, April, Kudos and Lakes. Browse our collection today and find your dream shower.
Feature image credit: New Africa / Shutterstock